Sunday, September 28, 2014

Manicure using Bundle Monster Gel Nail Art Stamp Stickers

Hello all!

I hope your weekend has treated you well. Mine has been very relaxing and I got a bit lazy, so I figured it was the perfect time to try out the Gel Nail Art Stamps the Bundle Monster sent me to review. Here is what they look like:


The come in a package of 8. Four designs, 2 of each design. You have to cut out the design to the  size of your nail. Its great because I got all 5 nails with one stamp! Now, you may have to use both if you have larger/longer nails then me - which is totally possible. Mine are little stubs right now.


For these 2 looks, I used the "Wallpaper" Gel Art Stamp Stickers. They sent me 3 additional sets to play with, but I will show you those designs in a bit. First, I want to explain what these are and how they work. 

First of all, they really work best over gel polish, BUT - I really don't see why it wouldn't work on a regular coat of white polish that is top coated. I will have to test that out. 

Step 1: Paint your nails with a white base. (gel or lacquer). For mine, I used Bundle Monster white gel from their Gel Basics Collection. You can find it here.


Step 2: Get some water in a bowl, and a cotton ball.


Step 3: Decide which design you want to use. If you are like me, this may be the hardest step.  :) 

Step 4: Cut the sticker to the size of your nail - the closest you can get. 


Step 5: Remove the plastic film covering the design, then place the image on your nail, pressing down to try to get it set on your nail as much as possible. (Think temporary tattoo, but for you finger nails, it is the same thing - like exactly. You are just putting the design on your nail instead of skin.)


Step 6: Dip your cotton ball in the water and place onto the backside of the design. Hold it there for 30 seconds or so or until the paper starts to slide off the design. 


Step 7: Remove the paper and pat it carefully down with your finger. Clean up the edges with acetone based nail polish remover and a q-tip or a clean up brush. (My favorite is ELF Concealer brush.)


Step 8: Top coat these gorgeous babies!

And VIOLA! Beautiful nails that I didn't have to sit and paint for an hour - because as I mentioned above. I was lazy this weekend. Heeheehee. 


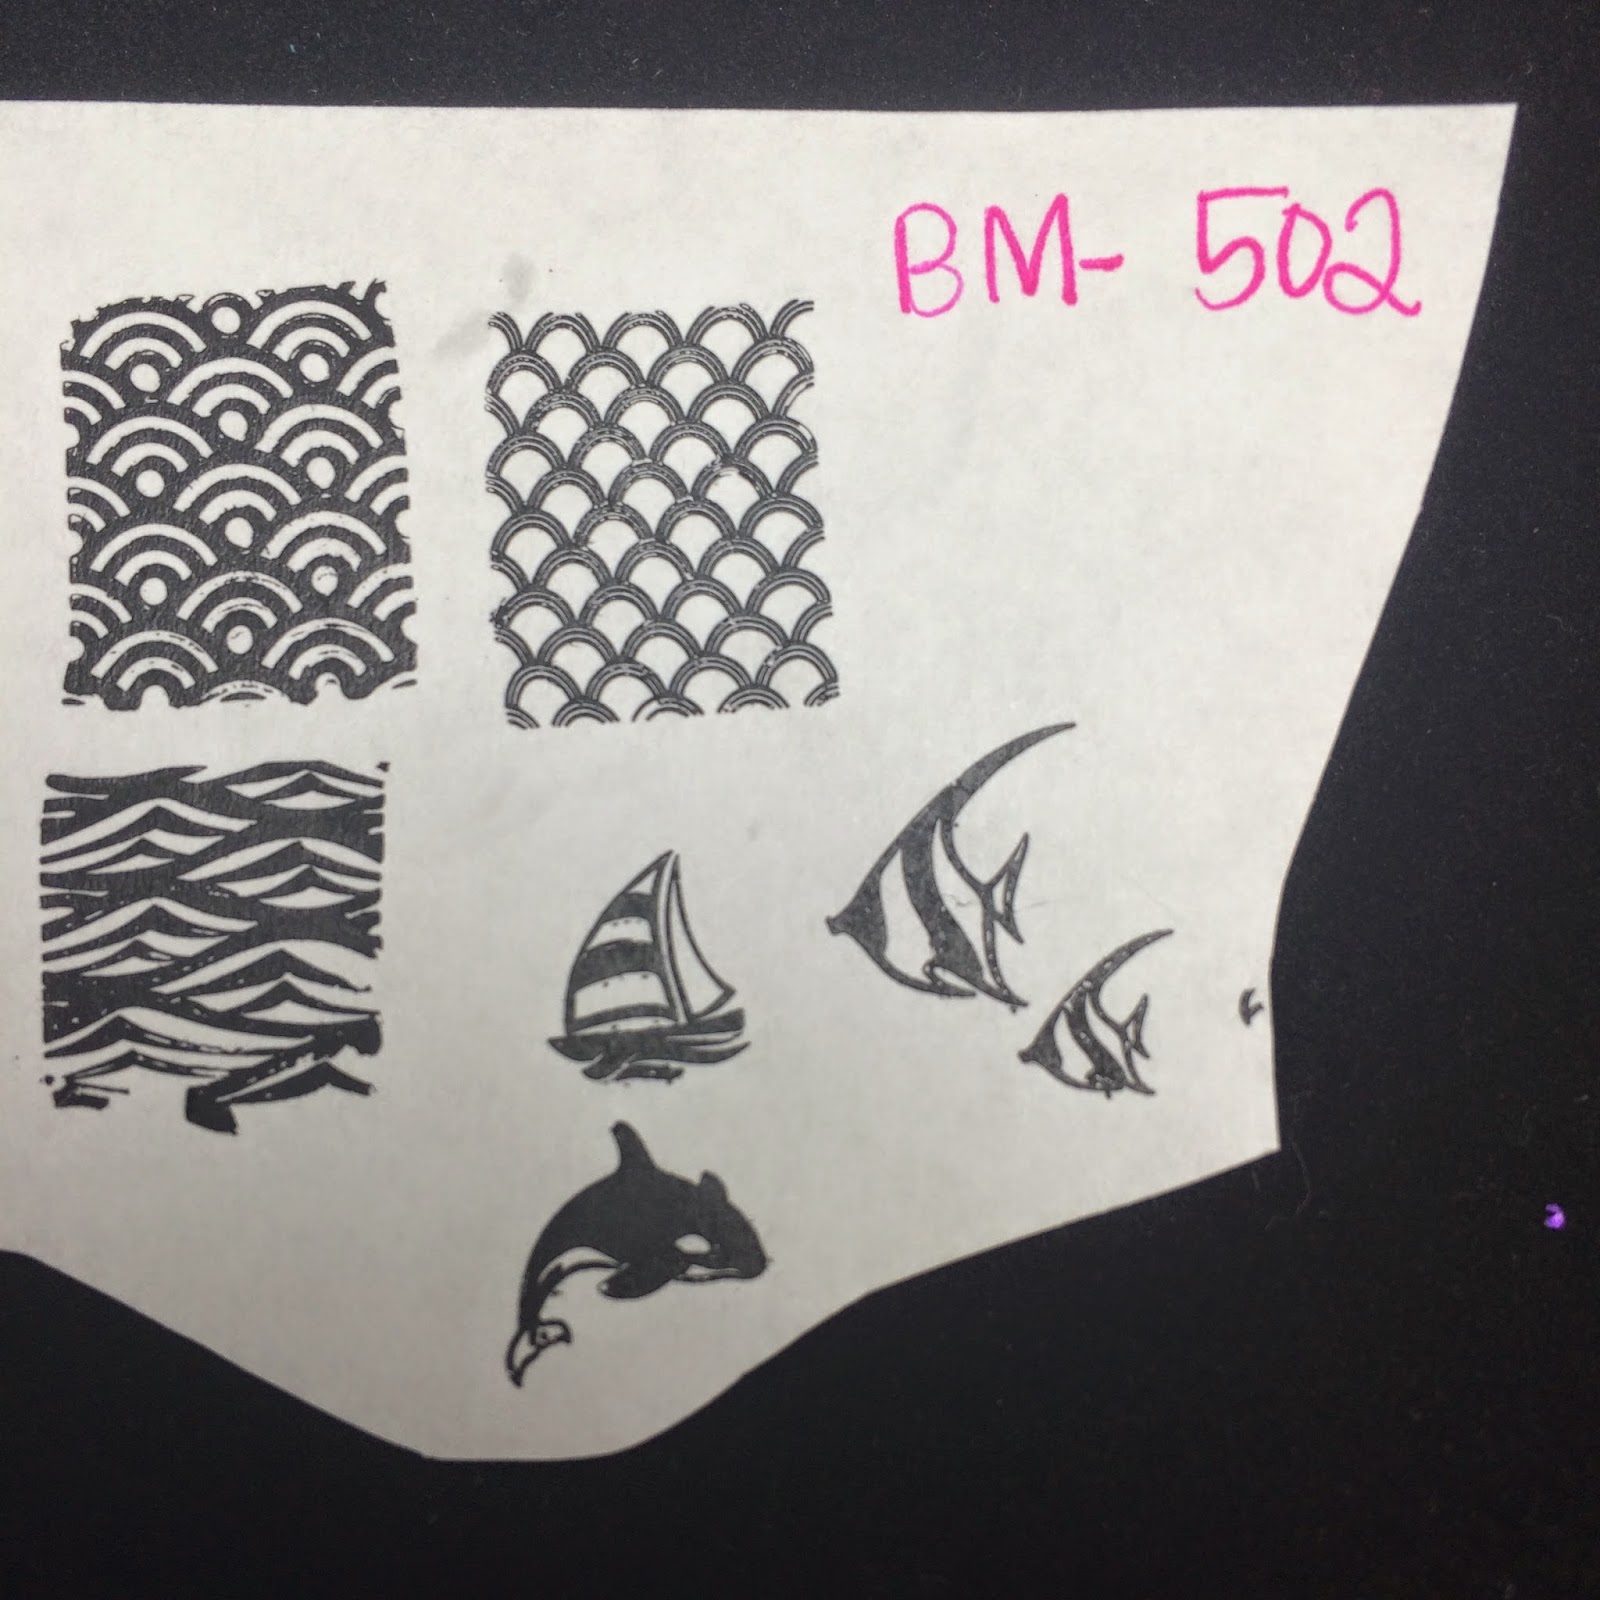
Here are the other designs I received. I look forward to using these ones too! 

This one is called Sepia and is $2.50 and you can get it here.


This one is called Love and is $2.20 and you can get it here.


This one is called Kaleidoscope, is $2.50 and you can get it here.

I hope you enjoyed this post. I thought these were very fun and easy to use! Which look do you like? Would you be willing to try out this kind of nail art? If you decide to try, these can be found on BundleMonster.com. 

Thanks for reading! 
Take care, 

Shanna


Sunday, September 21, 2014

Under the Sea manicure using Bundle Monster Sun Kissed Collection and Swatches of 10 plates

Hello friends!

Today I have another look I created using the Bundle Monster 2014 Sun Kissed nail stamping plate  collection I previously posted about here. I also stamped each plate onto paper so you can see all the designs and how well they stamp.

First though - here is my "Under the Sea" design using BM-501 and BM-510. (See below for the plate images.)


For this look I used OPI Glitter off around my cuticles, then let that dry. I then sponged on two nail polish colors, Sally Hansen "Pacific Blue" and China Glaze "Turned Up Turquoise". The result reminded me of the ocean. 


I then used BM-501 and BM-510 and Konad Black and stamped on the design as I liked I really like how the design turned out. I then topped off the design with my favorite top coat, Seche Vite. 
What do you think?


As I promised, here are all the swatches of the fabulous designs, because if you wait for me to do them all on my nails, it's going to take forever! Haha. There are 10 plates total in this collection. 

Here are the Sun Kissed, BM-501 designs:
Under the sea designs, and cute fish! 


Here are the Sun Kissed, BM-502 designs:
Cute mermaidy designs, water, a boat and some cute fish.


Here are the Sun Kissed, BM-503 designs:
Sharks, starfish, fish skeletons, clam, and turtle.


Here are the Sun Kissed, BM-504 designs:
Fun water toys, jelly fish, waves, crustaceans, a lone jelly, and a lifesaver.


Here are the Sun Kissed, BM-505 designs:
Multiple shell designs, sand dollars, and bubbles.


Here are the Sun Kissed, BM-506 designs:
Star design, lighthouse full image, water design, octopus tentacles, sea hours, and lighthouse. 


Here are the Sun Kissed, BM-507 designs:
Kites, cold treats, hibiscus flowers, compass, drinks, and hut.


Here are the Sun Kissed, BM-508 designs:
Flying birds, sunglasses, travel words, pirate hat, flamingo, and pirate head. 
(This plate had the only problem, the flamingo wasn't totally etched. You can see the missing spot on his back.)


Here are the Sun Kissed, BM-509 designs:
Triton's, water, anchors, rope, sand castle, and pirate skull. 


Here are the Sun Kissed, BM-510 designs:
Tattoo design, mermaids, palm tree, hula dancer, treasure map, and sea plant life. 


I really like this set. It has beautiful designs that can be used in so many ways. I can't wait to continue to create with them. Do you have any suggestions? What would you like to see now that you've seen all the plates?

You can purchase the plates at www.bundlemonster.com


Have a great week everyone!

Shanna


Monday, September 15, 2014

Pastel Rainbow Chevron nails and School Nails

Hello my friends!

I hope you are all well. Today I have 2 nail posts for you for days 10 and 13 of the September nail art challenge I am doing on Instagram.

The first design is for day 10. The challenge was "chevron" nails.  Here is the finished look! :) I like how they turned out.


For this look I first painted my nails with a white base coat. Then I used some chevron nail vinyls that I got here. I placed them on each nail in the design I liked. Then I chose 5 colors of polish to my liking. For this I used LeChat colors. (I will post the colors below) and put a drop of each color on a sponge and dabbed them on my nails. I then removed the vinyls and topped it off with Seche Vite top coat.


The colors I used, shown above are LeChat Perfect Match in Happily Ever After(yellow), Butterflies(purple), Rock Candy(blue), Cotton Candy(pink) and Moon River(green). I bought these all at my local nail supply store but you can also find them online on Amazon.com. They come as a set, both gel polish and regular. So you can match your toes to you nails! Or just use the regular polish at times like these. :)


For day 13, the nail art challenge was "school" nails. For this design, I used a white base coat, then applied a top coat. I then hand painted all the designs with acrylic paint. Once finished, applied another coat of top coat. And voila, here is my finished look.


Which one of these 2 looks is your favorite?


I hope you enjoy the rest of your week!

Take care,
Shanna

Saturday, September 13, 2014

September Nail Art Challenge

Hello there friends!

I hope you are all having a nice weekend. Me, I was catching up on some nail designs for @Californails monthly nail art challenge on Instagram. The way the challenge works is that about every 3 days there is a different design that you are to do. You interpret it however you want, and it's fun to see what designs people come up with.

Here is the challenge:


So far I have done day day 1, simple. I used my pink Bundle Monster gel polish and stamped the top with MoYou London Bridal plate-06 for the lace. Then I added a little rhinestone that I got at Michael's. Here is the picture. 


Then day 4 was cat nails. I got inspiration from Pusheen, a cute little fat cat.  This was hand painted with acrylics over my blue Bundle Monster gel polish. Here is my design. 


Day 7 was triangles. I used Orly Luxe for the gold, LeChat Just Breathe for the tan, and for the triangles I polished a plastic bag with the pink, green and gold, top coated it and let it dry. Once completely dry, I peeled it from the plastic, layered them and cut the little triangles using cuticle scissors. I then painted the nail white, top coated it, and placed the triangles where I wanted them. Then, I finished it all off with my favorite top coat, Seche Vite.


This is where I am at so far. I will post the next 3 mani's in this challenge in a few days. I hope you liked these. Which is your favorite??

Love,
Shanna

Wednesday, September 10, 2014

Nail stamping with the NEW Bundle Monster Sun Kissed Collection

Hello there!

Today I am going to show you a design I made with the new 2014 Sun Kissed Collection by Bundle Monster. This set is a little different then their previous sets. This set is 10 nail art stamping plates and they are all ocean themed. I know summer is coming to a close for a lot of us, but this set is beautiful, deeply etched and stamped perfectly for me.

Here is my design. I did my stamping over a base of black gel polish from Bundle Monster's Basics Collection. I swatched that collection in my last post and you can check that out here.


I used plate BM-506 and BM-509.  I took pictures of the 2 plates I used, but it is very hard to get a clear picture. (Note: the plates are not scratched, but still have the protective blue film over them. Once that is off, they are perfect and shiny. No scratches at all.)


I really love these plates so far and can't wait to create more designs with them. I will test all the images of the weekend and in my next post show you all the designs stamped on paper so you can see just how beautiful they are! 


Look at that adorable lighthouse. I used Mundo De Unas stamping polish for the light blue, Konad white for the lighthouse, then used a coat of OPI Sheer tints in yellow for the light. I am very happy with how this design turned out.


The Sun Kissed Collection is on sale right now for $7.99 at BundleMonster.com!

Go get yours! Seriously, it's a gorgeous set.


Thanks for reading! 
Let me know if you are interested in a nail stamping tutorial or what you need to get started. 

Love,
Shanna


Monday, September 8, 2014

Review of Bundle Monster Gel Polish Basics Set

Hello there nail art fans!

I was so excited when Bundle Monster contacted me and asked me to review some of their products! In fact, I still am! Eeeek! Today I am going to share with you one of their Gel Polish Sets, Basics Collection. This would be a great starter set if you are new to gel polish. But, even as a avid gel collector, some of these colors are much different from any I already have.


As with most gel polishes, you want to lightly buff your nails so the shine is gone, then you want to use a bonder if you have one. After that, you apply your base coat, cure 30 seconds with an LED lamp or 120 seconds with a UV lamp. Then you shake your color well, apply to nail (if any polish touches your cuticle, you can use a concealer brush with a little alcohol to clean it up prior to the next step) and cure as noted above. Repeat as necessary. I usually do 3 coats of color to get full opacity. Then apply your top coat, cure. Then using a little alcohol on a lint free pad or cotton ball, wipe away the tacky layer. And - DONE! Beautiful gel nails that will last up to 14 days.


The first gel polish I swatched is White. This is actually one of my most used colors, believe it or not.   This color was very opaque and really only needed 2 coats to get to the perfect color. But, I put a third for good measure. :-) The formula was very nice, and I found the polish very easy to work with.
Here is the white. Beautiful!


The next color I pulled out of the collection is pink. This one surprised me. I really fell in love with this color. As with the white, the constancy was good. 3 coats was the perfect amount.  Aren't you in love too!


Next up in the collection is this brilliant purple! Oh man, I really wanted to leave this one on a while. This shade is perfect for fall. I can't wait to of a bunch of manicures with it in the future. I found the consistency of this one a little watery even after shaking a bunch, and had a bit of shrinkage, but it still it went on smoothly and again, 2-3 coats will do the trick.


Now, the next color is a little tricky for me. Me and my husband were debating what this color is supposed to be. I think it is supposed to be a brown/taupe (i.e. Basics) but when I was putting it on, it almost seems to have some purple undertones. My husband kept calling it burgundy. Anyways - you can debate as well. It is still a very nice and neutral color. As with the rest, opaque in 2-3 coats.


The next color is a gorgeous royal blue. You know how sometimes you almost can't tell if it's purple or blue - this one is like that. I had a hard time capturing the true color on this one. The one thing I can tell you is I was oohing and ahhing as I was applying the color. A little bit of shrinkage with this one, so I had to flash cure (curing each nail for 10 sec right after applying) to prevent too much. 2-3 coats equaled brilliant coverage.


And lastly, and my favorite (the one I am still currently wearing and received multiple comments on today) is this special black. Now, why it's in the Basics Collection, I don't know. It is not basic. This black has tiny gold glitter in it making shimmer and shine. I LOVE it. Black and gold have always been a favorite of mine. (Can't you tell?)  This one went on very nicely and I didn't have a shrinkage. Opaque in 2-3 coats. It is gorgeous. The picture below doesn't do it justice. 


So those are all the colors in this collection. What did you think? Which is your favorite?
Are their any you must have?

You can get the set for $26.50 (How great is that price?) here at Bundlemonster.com

Or click the link below.


Thanks for reading and I hope you enjoyed this review. 

Love,
Shanna